The best gifts money can’t buy are the time you spend with your loved ones and the experiences you share. You can make our recommendations work with the things you already have in your home, add a few things to your inventory or, level up some of your items to put together the type of experience you’re most excited about.
Now for our three favourite Xmas experiences: two flights and a photo.

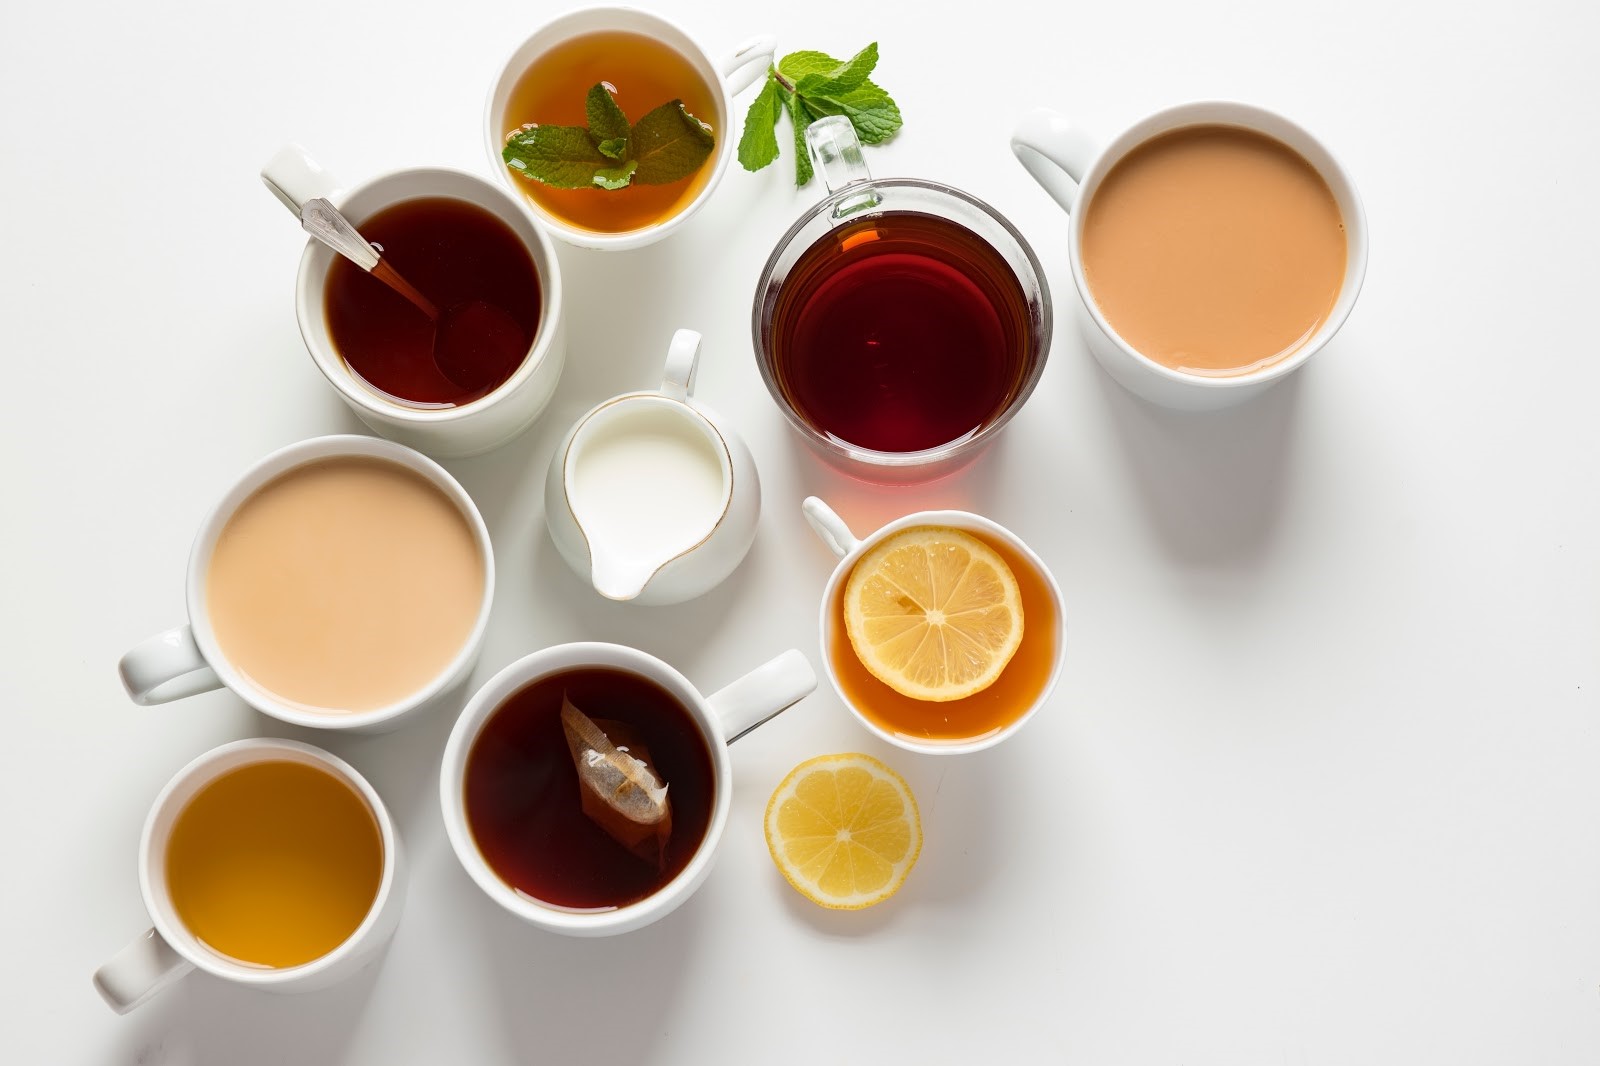
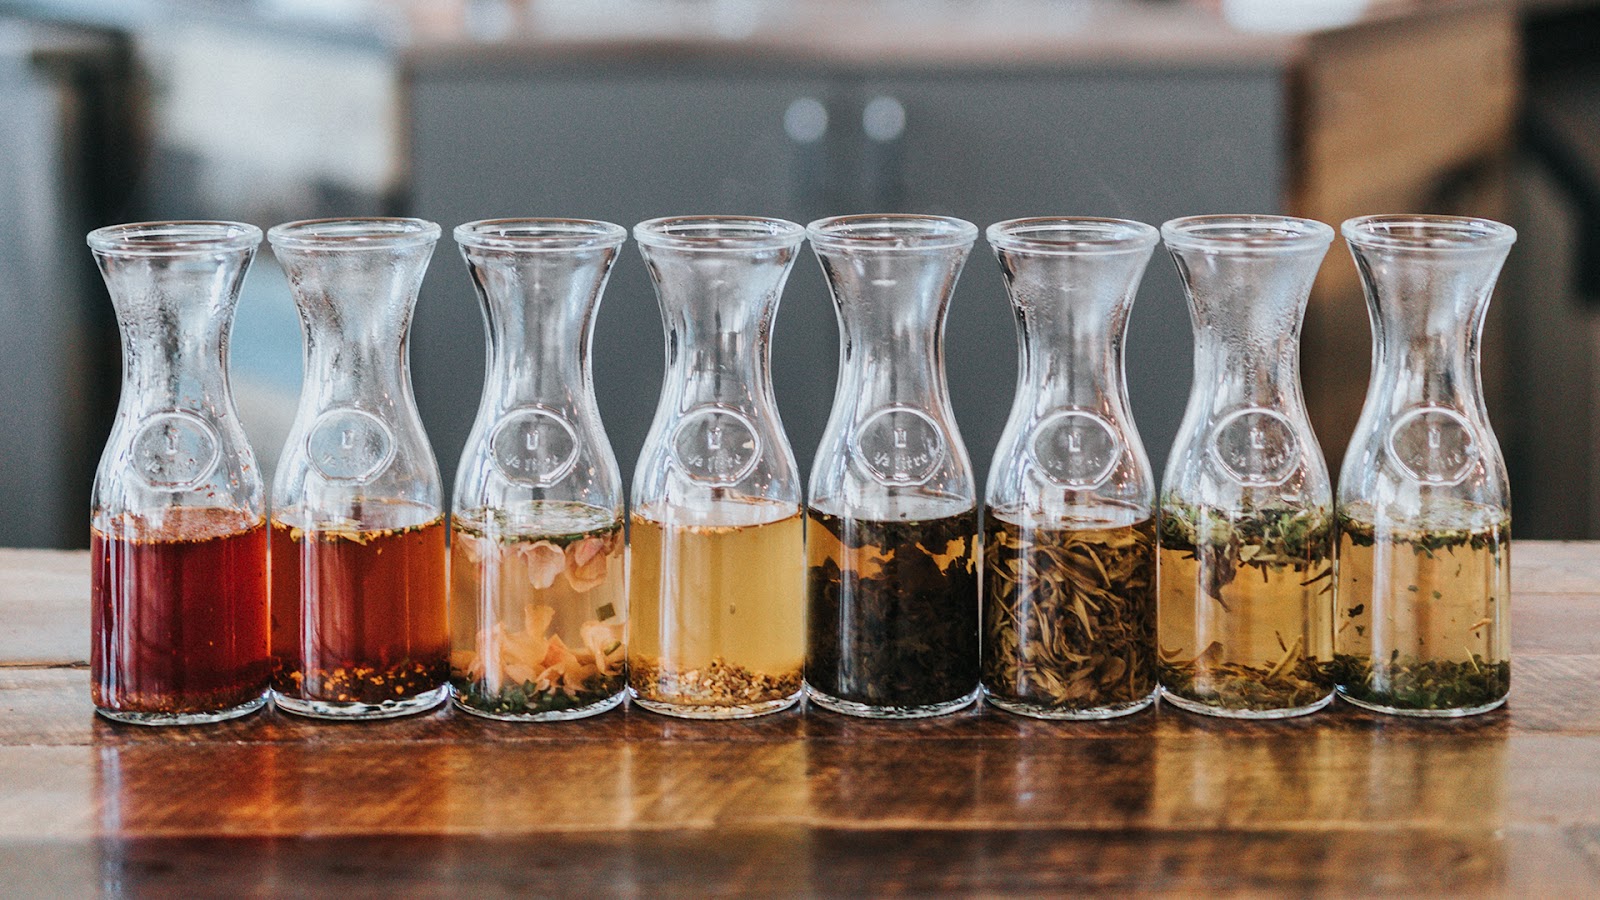
1. The tea flight:
For people who love tea – it’s like a wine tasting but with tea – teas have a lot of nuanced flavours which are fun to pick out and compare (as well as learn how others taste things and what their preferences are). Paired with biscuits, croissants or other delicious baked goods – it’s magic.
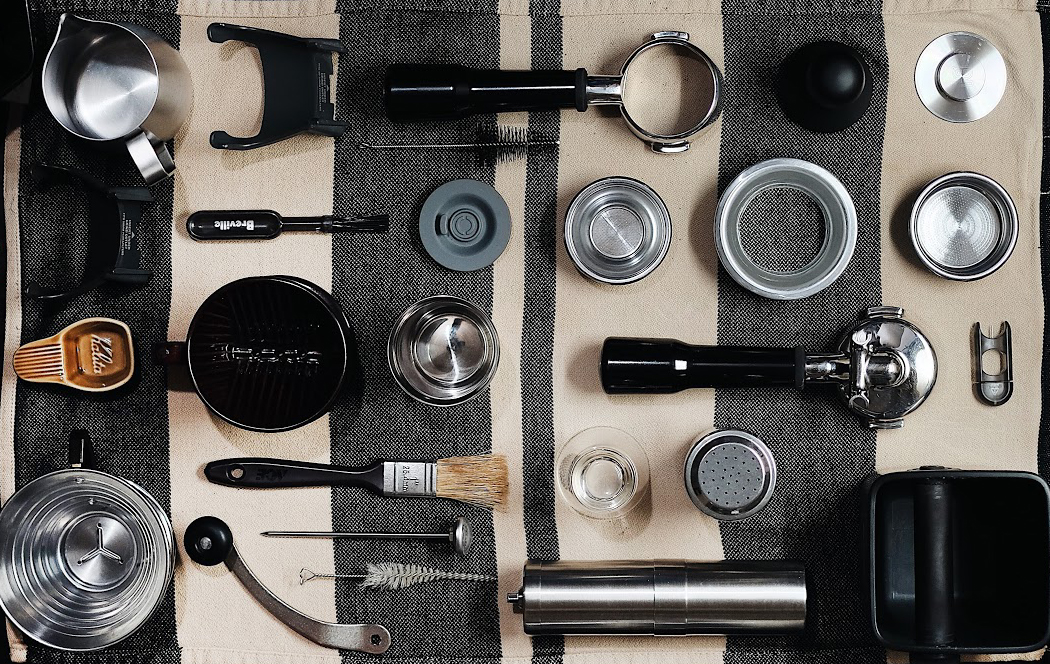
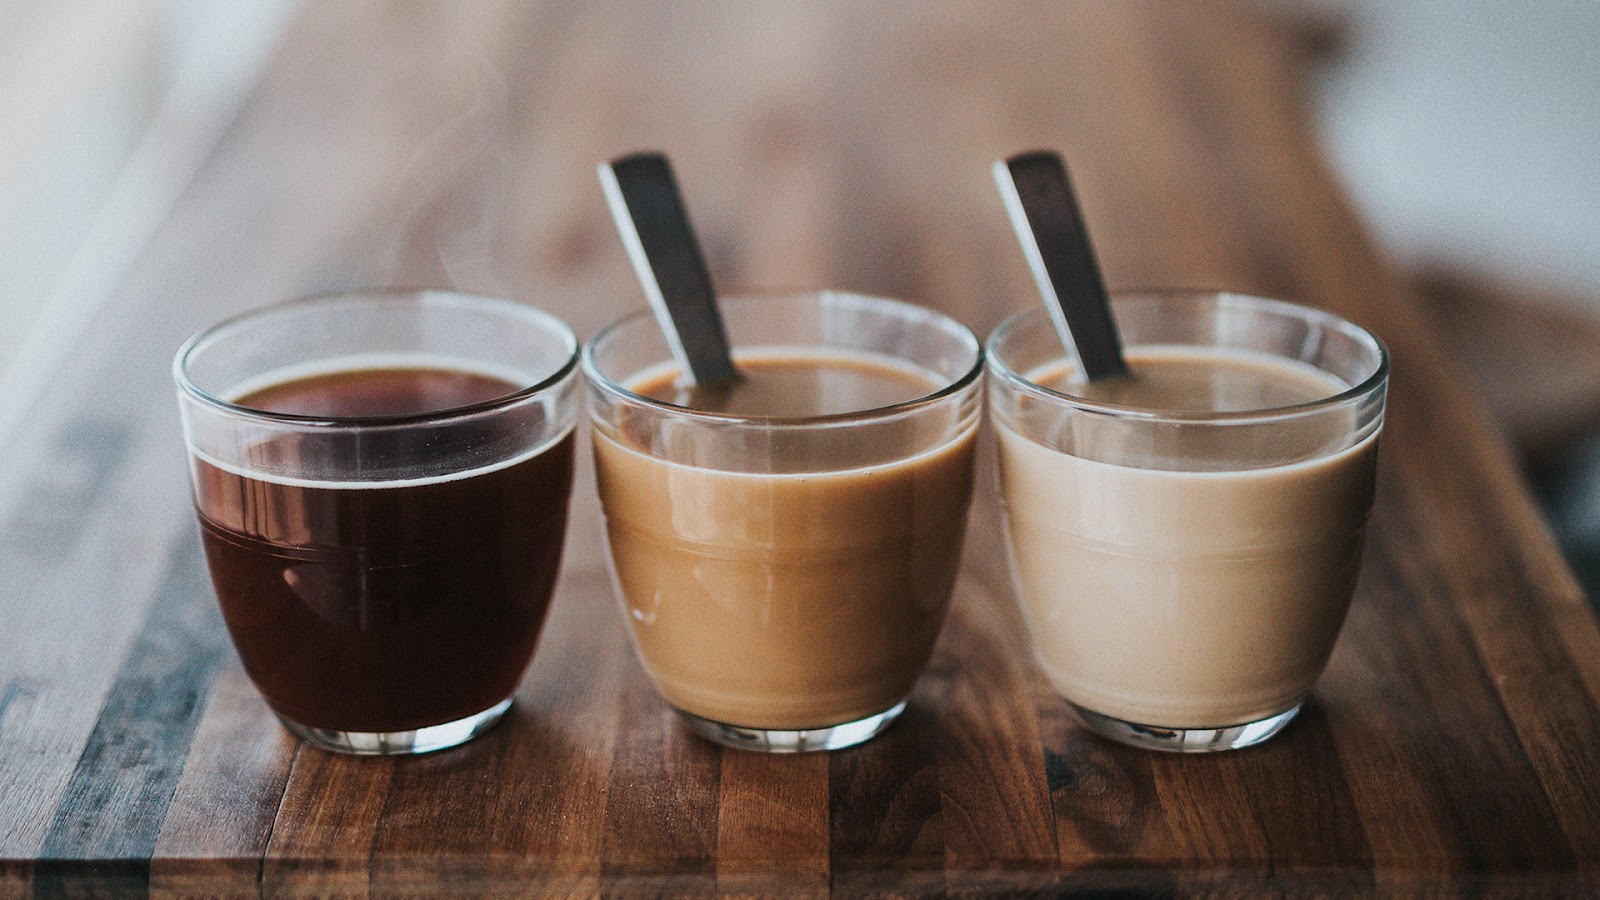
2. The coffee flight:
There’s nothing like re-creating the cafe experience in the comfort of your own home with the people you love. Coffee flights are fun, delicious and a bonding experience over delicious drinks.
3. Holiday photos:
The holiday season is a special time for taking photos – families and friends get together, it’s cozy, pets and excited and lots of photos are taken to capture these moments. Turning these to physical memories that your loved ones can take back with them is the gift that keeps on giving happy memories.
Every time we’ve done a flight of anything, we’ve learned something. It naturally happens that everyone has favourites and in a side-by-side comparison, it’s easiest to identify what those are. What makes preparing a flight a genuinely thoughtful and caring experience is the consideration and time that goes into it. Anybody can just pour a few different cups of something and drink it themselves, but we generally don’t because that’s not really “fun”. However, when you prepare a flight for a loved one, the bit of pampering that you do comes through and can really make for a special memory.
Note: A “blind” flight is when the giftee doesn’t know what the samples are. One of the reasons “blind” flights are fun is because whoever prepares the drinks is the only one who has knowledge of which drink is which. Setting up a “blind” flight can be tough when teas and coffees have different colours or finished appearances.
The Tea Flight Experience:
The Preparation:
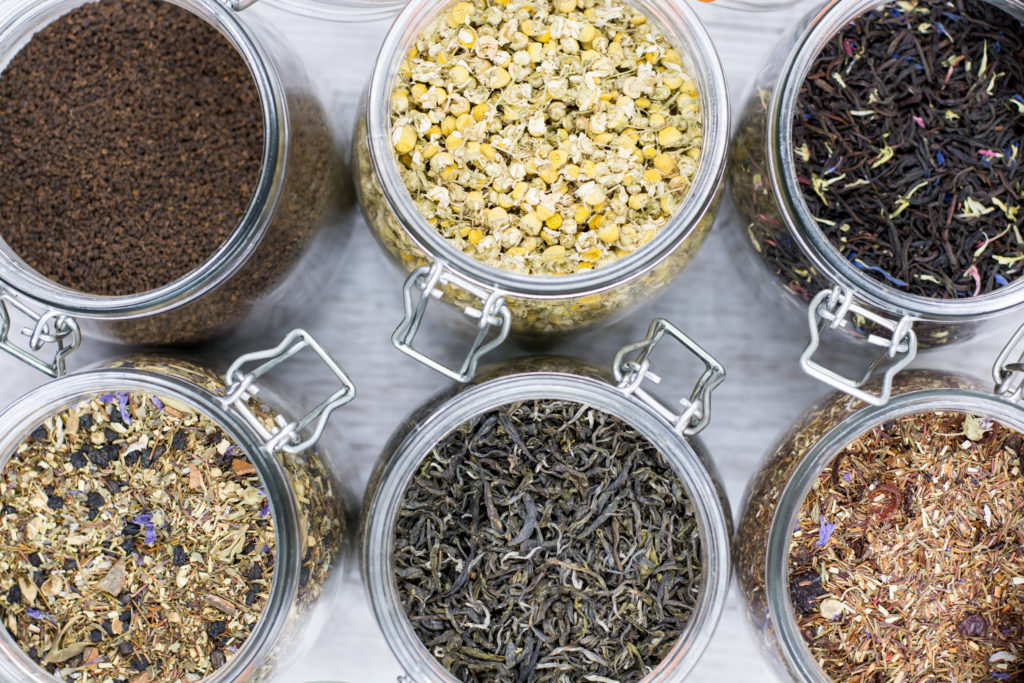
Try to find out if your loved one has a certain type of preferred tea. Whether it’s Green, White, Black, or something else, the process is the same. If you choose a type of tea that they already like, you’re off to a good start.
Perhaps the best way to do this is to take a tea that they already like and go to the place where they bought it. Maybe they have a favourite brick & mortar tea shop or maybe they usually buy online. Either way, asking what type of tea they like ahead of time (or sneaking a peek in the tea cupboard) is a fine way to get started if you’re stuck. The nice thing is that even if you ask what type of tea they like, you won’t really be ruining the surprise of the gift.
One final note. To save on cost, you can buy small amounts of a few different loose-leaf tea with some disposable tea bags. Additionally, the quantity of teas can be varied. We usually do 4 different samples, but you could do as few as 2 or as many as you’re comfortable with. 4 seems like a great number though so you don’t have to juggle too many tasks at once while brewing.
[For more info on disposable tea bags, check out our blog about the The Easiest Way to Steep Tea]
The Setup:
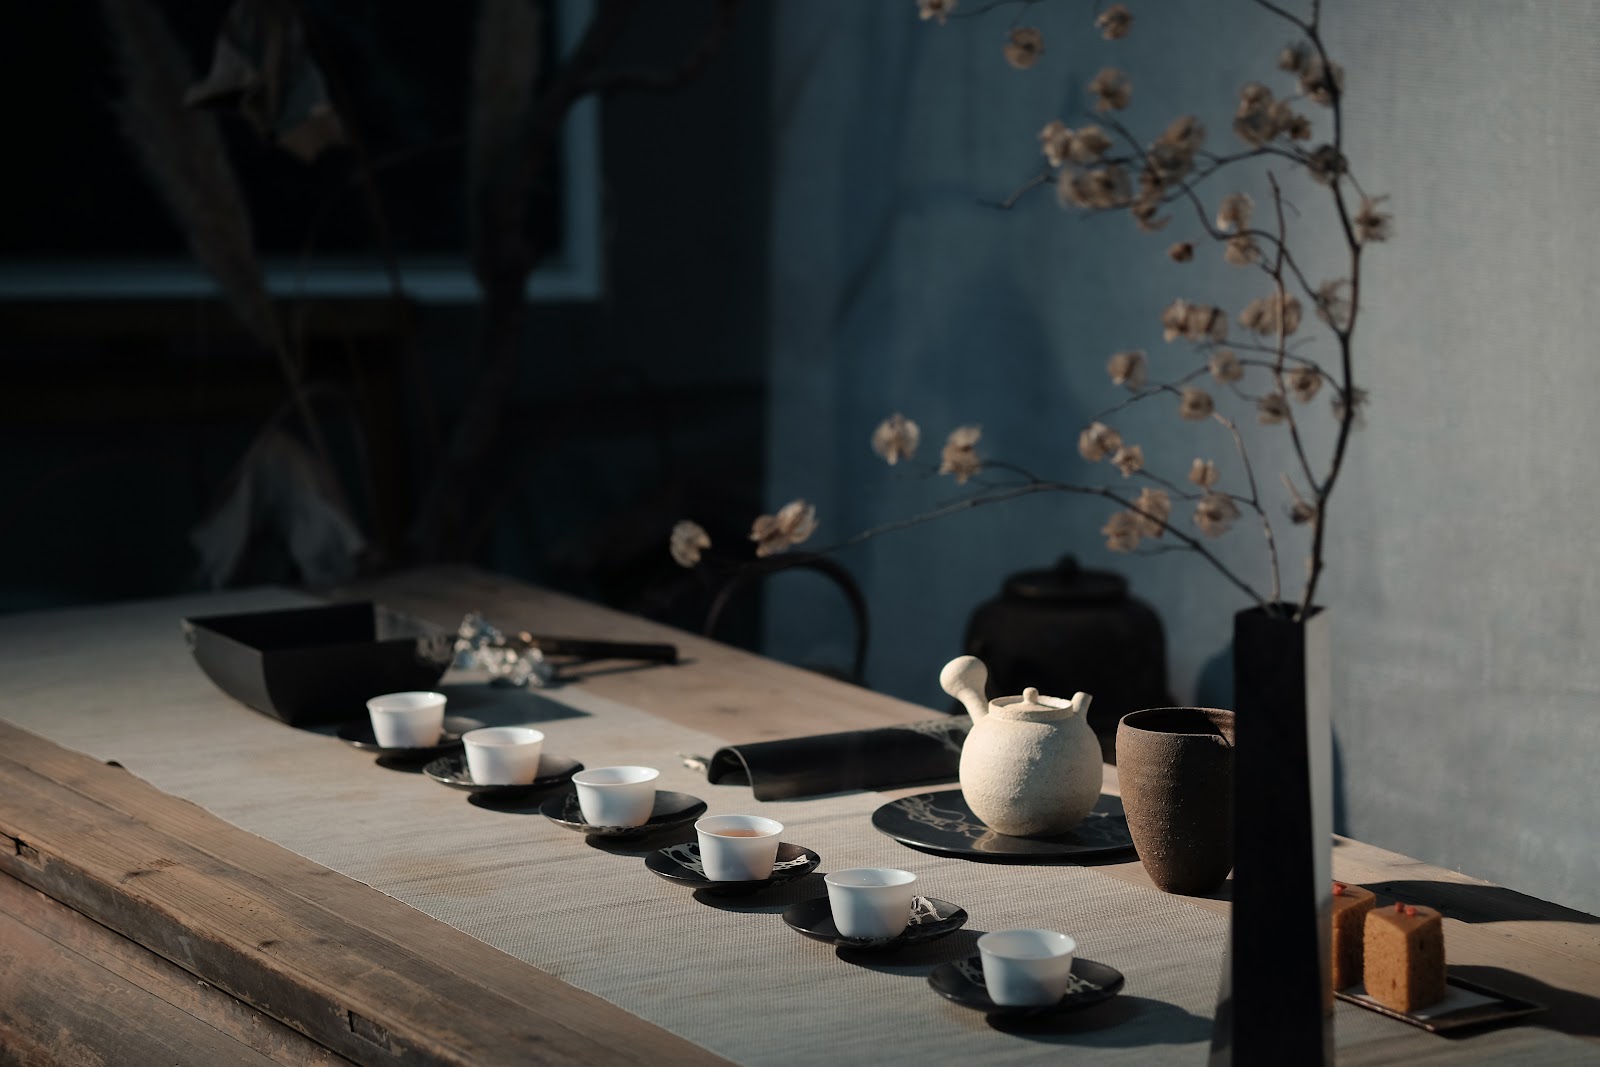
Here’s where you get to have some fun. How you do this is really up to you. You can get matching mugs and tape a number to the bottom of each for the truly blind-tasting experience. This allows your giftee to be hands on with all the mugs right from the get-go. Alternatively, you can just use a few different non-matching mugs that are available.
Hint: if you have clear & colourless tea mugs, it’s a great way to see the colours of the tea.
Heat up enough water so that you have enough for a couple steeps of each tea. Keep in mind that you don’t have to be making full-sized cups of each. This a tasting flight so you can use ¼ to ⅓ proportions of tea & hot water. Or, if you want to steep full cups, there’ll be a lot extra for you to share. To bring out the best flavours of the tea, try to heat the water to the ideal temperature range for your type of tea.
[For more info on tea temperatures, check out our blog about the Temperature Kettle]
However you plan to serve the mugs, just make sure that you have a way of remembering which tea is which at the end of it all. Write a secret note for yourself that states which tea is in which mug. You can do this on a sticky note or as a note on your phone, but don’t skip this step.
Try to keep as many variables consistent as you can. If you weigh out the quantity of tea and water plus keep the water temperature and brewing time the same between each sample, it will help you get the best results.
Tip: If you stagger the time when you start steeping each sample by 60-90 seconds, your giftee will have time to savour the aromas and pass judgement on the tea without feeling rushed.
The Tasting:
Finally the really fun part. Bring out the teas and start to do some analysis. Once each tea is done steeping, have your giftee take some time to smell each tea. If you don’t have identical-looking mugs, you can choose to have them close their eyes and you can hold each mug up for a whiff. Then, ask them what their thoughts are have them rank their favourites. Ask what they smell. Are there fruity notes, or smoky ones, or earthy ones? Usually you’re not trying to influence the giftee, but if they’re stuck for words, these might be good prompts to get them going.
An important note for you: Write everything down! (You can always peek at the numbers, but try to keep them guessing until the end.)
Make sure the tea isn’t scalding and now have them taste each tea, but really taste it! This is an opportunity to savour things. Encourage them to swish it around a little or taste it with different parts of their mouth. This is probably much more than they do with a regular cup of tea, but that’s part of the fun of this. Even for teas they might already be familiar with, this can be a new experience for them.
Again, have them share their thoughts and write everything down. It’s fun to rank them again.
Also remember that this can be a shared experience. If they say there is a certain smell or flavour that they enjoy, make sure that you give it a whiff or taste to see if you can notice the same things.
Finally, you can bring out samples of the loose tea to sniff. For extra fun, try to have them identify which one matches with their favourite tastes.
At the end of it, you can go through and share your notes. You may find some interesting things. It’s possible that they reaffirmed that they really do prefer their “favourite” tea, but it also could be the case that they discovered something new that they really liked.
Hint: A new discovery could lead to great gift inspiration for another occasion.
All in, the whole process probably won’t take you more than an hour. This is a very inexpensive gift that makes a long-lasting memory. Every time your giftee drinks any of these teas in the future, they’ll be remembering this time you spent together.
Recap:
An Earl Grey tea tasting (eg. Earl Grey Supreme, Earl Grey Imperial, Winter White Earl Grey):
- Put enough water in the kettle to make enough tea of all the different types and start boiling.
- Get enough mugs for your different teas and “do something” so you can tell them apart! This can be done by taping a number on the bottom of each one or just making a mark (or taking good notes if your mugs don’t match).
- Measure the same amount of tea into 4 different disposable tea bags.
- Set up the mugs and tea bags so they look nice. Also, it’s good to have a spot to put the wet tea bags after steeping.
- Pour the hot water into mug #1 and wait about 60-90 seconds, then pour hot water into mug #2. Plan your timing out ahead of time so you only have to do one thing at a time. (For teas that take 3-4 minute to steep, 60 second intervals are great so you don’t have to take out the first tea bag until you’ve poured water in the last mug. For teas that take longer to steep, you can increase the interval time to 90 seconds.)
You can do the pouring step with the giftee at the table or you can do this ahead of time in the kitchen and then just bring out all the mugs once the hot water is in everything. - Have your giftee smell each mug and ask some questions. Write down some key words your giftee says and have them rank their favourites.
- Have your giftee taste each tea (when the temperature is safe). Write down their rankings and some key flavour words.
- Bring out some extra dry tea of each type and have them try to identify which one goes with which tea.
- Share your notes and talk about the findings.
- Have fun! This is a great way to disconnect from everything else for a little while and get real quality time together. You can also definitely share in the tasting experience and try to see if you taste the same things they did.
The Coffee Flight Experience:

I used to love the experience of going to a cafe and ordering a coffee flight. There are two general types of coffee flight.
The first is similar to the tea flight described above where you try three different beans – they can be different roasts of the same bean, or different beans – you can mix and match however you like but the gist of it is that the method to brew the beans is the same (usually pourover or expresso) and the beans are different. This way you get to taste the different bean flavors when they’re all extracted the same way.
The second method is using one set of beans and brewing them three different ways so that you gain an appreciation and understanding of how brewing impacts coffee flavor (which to me was fascinating). We’ll go through how to set up both of these experiences – pick the one that resonates with you and those you’re sharing with.
Before diving into the experience set up, we recommend pairing the coffee flights with a light snack. Some ideas include: mini croissants, mini open-faced sandwiches (avocado toast with goat cheese and honey, smoked salmon on rye with cream cheese, goat cheese with fig and honey to name a few), or freshly baked cookies.
Coffee Flight Style 1: Same brewing method, different beans
We’ll run through this with the Aeropress method – it will be the same for espresso except that the beans will be ground at a finer setting (9) and you’ll use an espresso machine.
Step 1: Choose a brewing method you enjoy.
For this set of instructions we’re using the Aeropress. For a more nuanced flavor I would recommend the Aeropress and for a stronger creamier flavour I would recommend espresso.
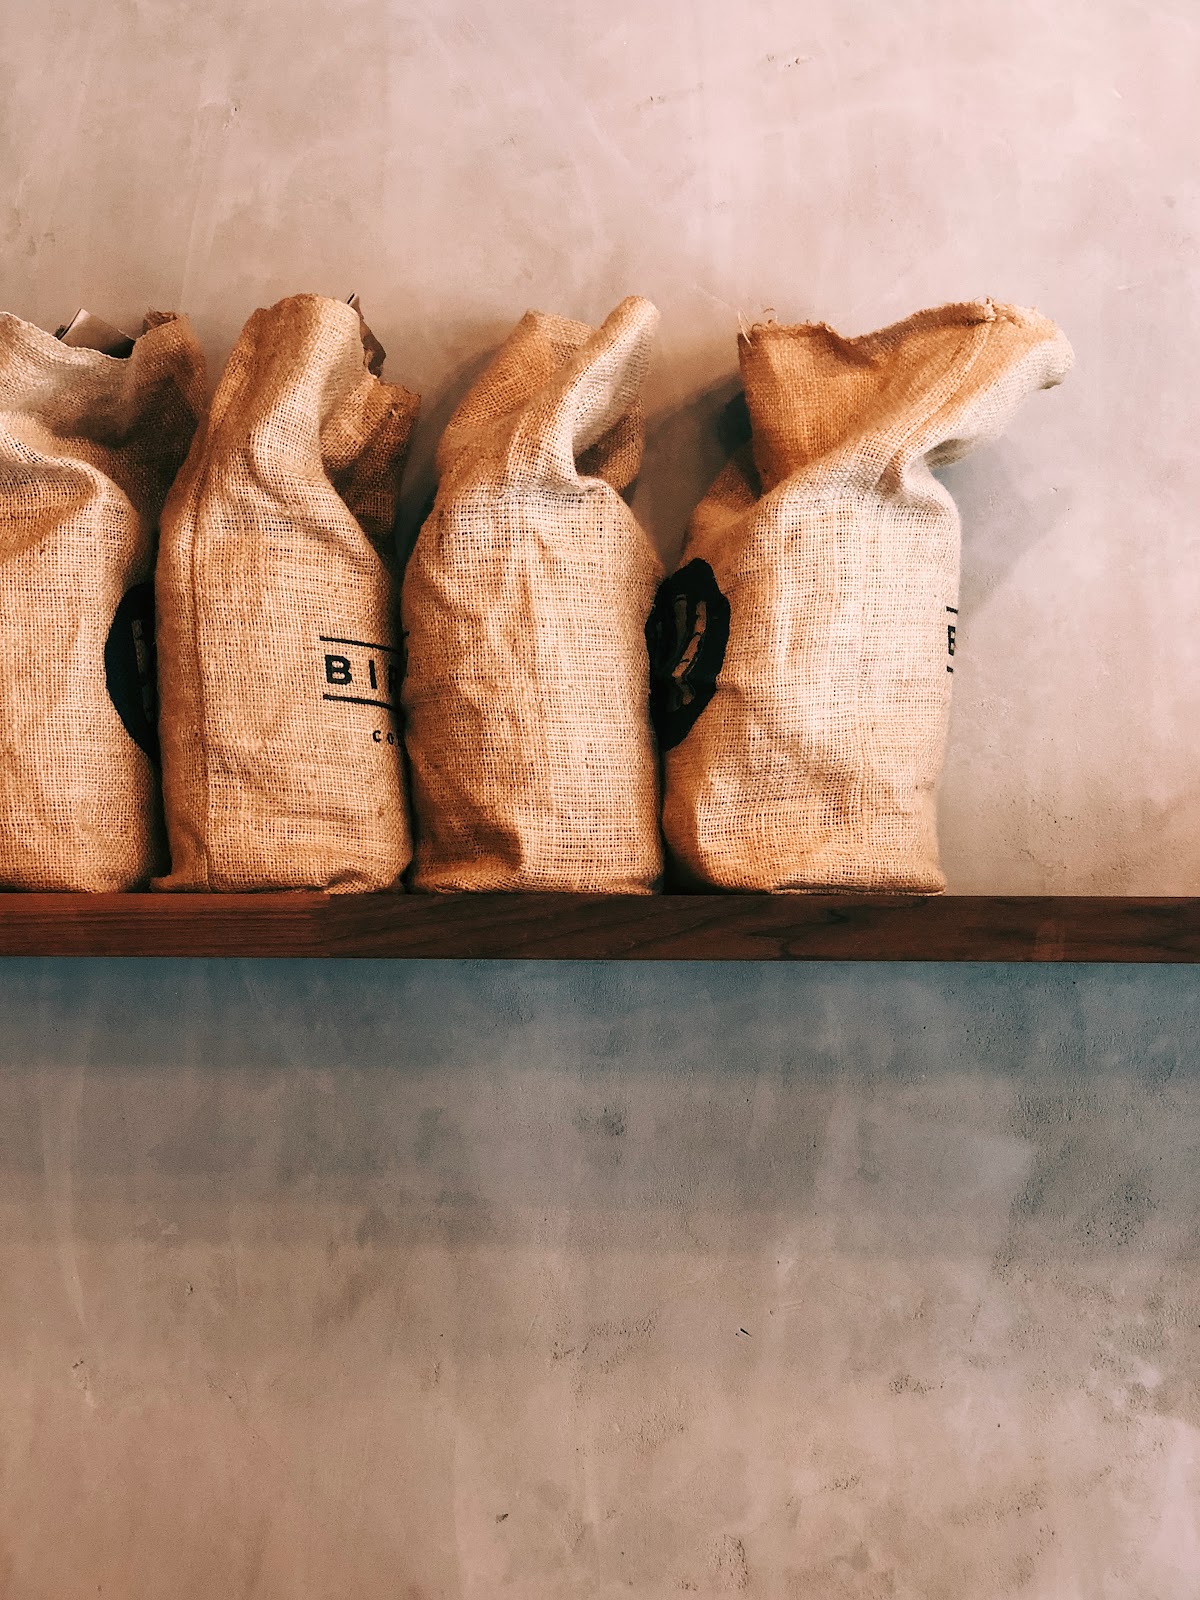
Step 2: Pick 3 types of beans.
You might enjoy going to different local roasters to pick out three bags of beans or order a set from a single roaster. I personally find it fun to pick out single origin beans that have flavor profiles that sound delicious to me…like milk chocolate, strawberry, and cherry. If you’re going with the espresso method, I would choose beans that specify they’re for espresso.
Step 3: Grind the beans.
I’d strongly recommend having your own burr grinder – especially if you love making coffee regularly. If you’re using a burr grinder set it to 12. If you don’t have a grinder, you can always ask the coffee shop to grind it for you (specify the method you plan to use) – just make sure you do this close to the time of your event (within days, not weeks or months) to ensure optimal freshness.
[For more info on burr grinders and our recommendation, check out our blog coming soon]
Step 4: Brew the coffee.
Use the freshly ground beans to brew. Unless you have multiple Aeropresses or pour over flasks I wouldn’t try to multitask this. Invert your Aeropress, insert the plunger and align it to 3, add two scoops of grinds then fill with hot water. After 90 seconds put the filter paper in the filter, wet, screw on, invert and push to get your brew. Repeat with the other two beans’ grinds.
Each Aeropress pull should give you enough for 3 small servings – divide each pull into 3 small glasses or mugs
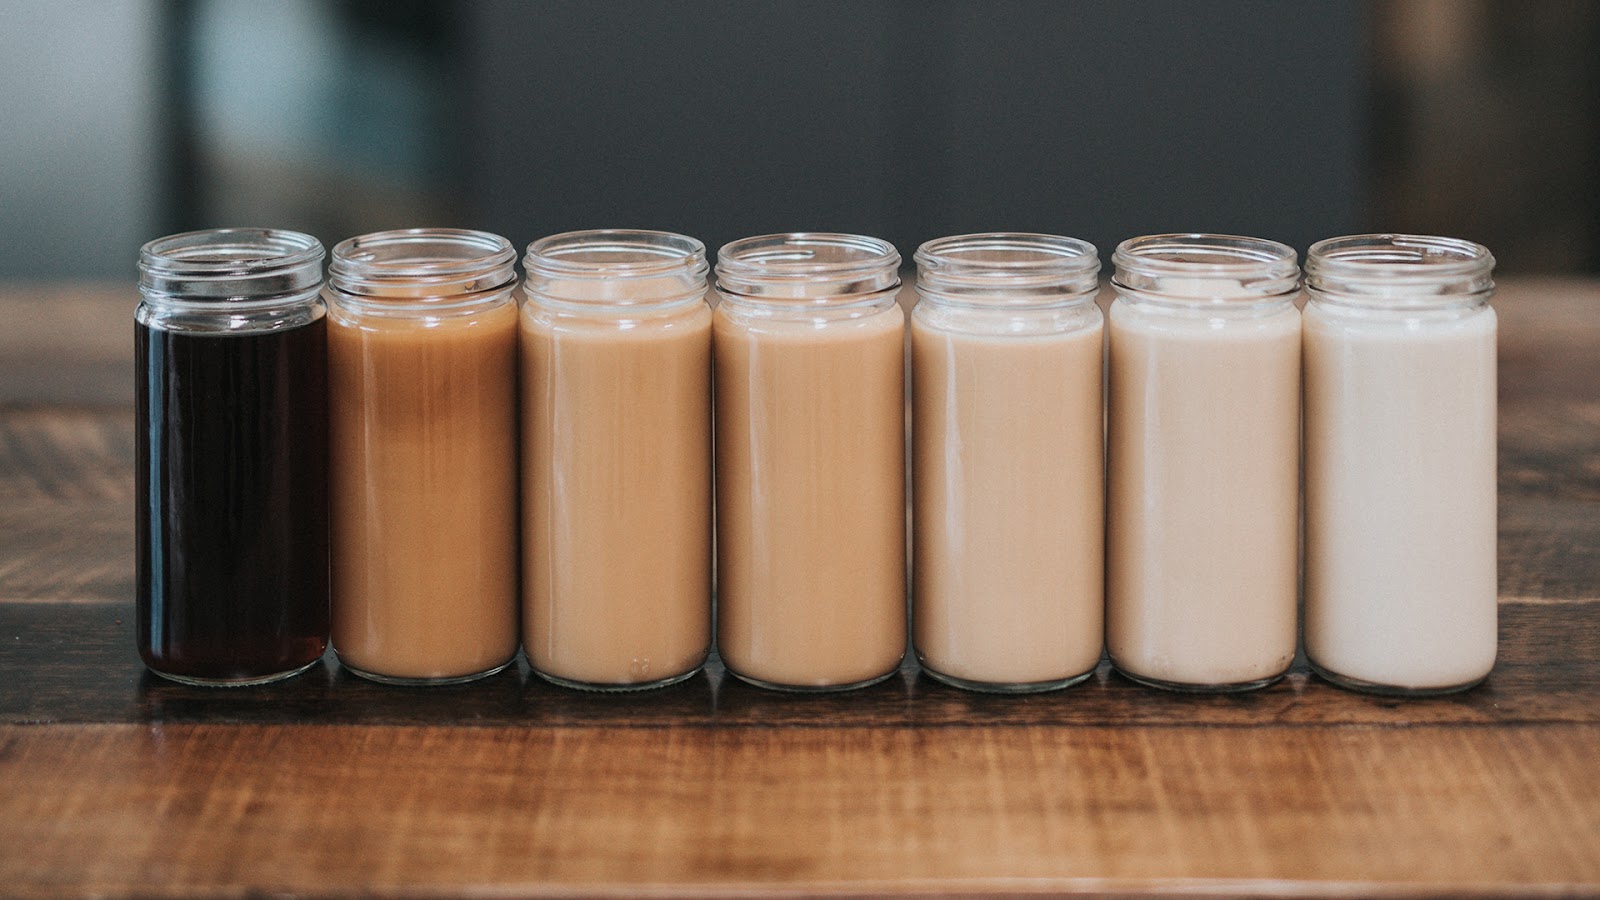
Step 5: Serve (and optionally with milk)
If you like your drinks milky you can always top off with steamed milk (read more about milk steaming here) and have mini lattes.
Serve with snacks!
Coffee Flight Style 2: Same beans, different brewing methods

This one requires a bit more equipment since you’ll be brewing the beans in 3 different ways. I recommend the Aeropress, Espresso, and Cold Brew methods as you get a significant variety in the final taste. The Aeropress brings out the bright juicy flavours, espresso more bold nutty chocolatey flavours and the cold brew more smooth and malty – these of course will depend on your beans and roast but the fun part is seeing how much variation the brew method makes with your beans. Try choosing beans which have a flavor profile that piques your interest.
Note: If you are doing cold brew, this requires starting a day earlier as cold brew sits in the fridge for ~24 hours
Step 1: Pick out beans
Pick out your beans – head to your favourite roaster or find some online.
Step 2: Grind beans
Grind your beans fresh with a burr grinder or if you don’t have a burr grinder ask if your roaster will grind your beans into separate packages (fine for espresso, medium for Aeropress, and coarse for cold brew).
Step 3: Cold brew preparation [at least a day in advance]
Cold brew – set the Aeropress plunger to 3 and place two scoops of grinds in it, then add room temperature (or cold) water, stir, attach the Fellow filter (to prevent leaks and for easy extracting) and let sit in the fridge overnight. If you don’t want to use an Aeropress or don’t have a Fellow filter you can do this in any container and place it in the fridge covered.
Step 4: Cold brew extraction [on the day of the tasting]:
Plunge your cold brew into a glass or mug and set aside in the fridge to stay cold. If you were using a container you’ll need to pour it over a filter and into a glass or mug.
Step 5: Prepare the hot Aeropress pour
Put 2 scoops of grinds into the Aeropress. Fill it with hot water to the top but not too close – you don’t want to deal with spilling water. Stir and let sit for 90 seconds. Put the filter paper in the filter top and screw on. Invert into a mug or cup and plunge. You can pour out into individual portion mini glasses or mugs.
Step 6: Prepare the espresso
If you’re going for shots this will be quite strong but you can just serve the shot alone – I would recommend turning it into a latte, misto, or americano. Place the fine ground beans in the espresso chamber and pull a shot – if you are diluting with milk or water you can go ahead and then segment the samples.
Step 7: [optional] Add the milk
I’d recommend either having milk in all drinks or none – since I prefer to have creamy drinks I add cold milk to the cold brew, and add steamed milk to the hot Aeropress and espresso drinks to create lattes.
Step 8: Serve! (with snacks)
The bags of beans themselves make for great post-tasting gifts when your recipient lets you know what they really like (or gift them all). If you are doing the second method and learn the method of brewing they really enjoy that will give you a gift idea for next time!
Holiday Photos
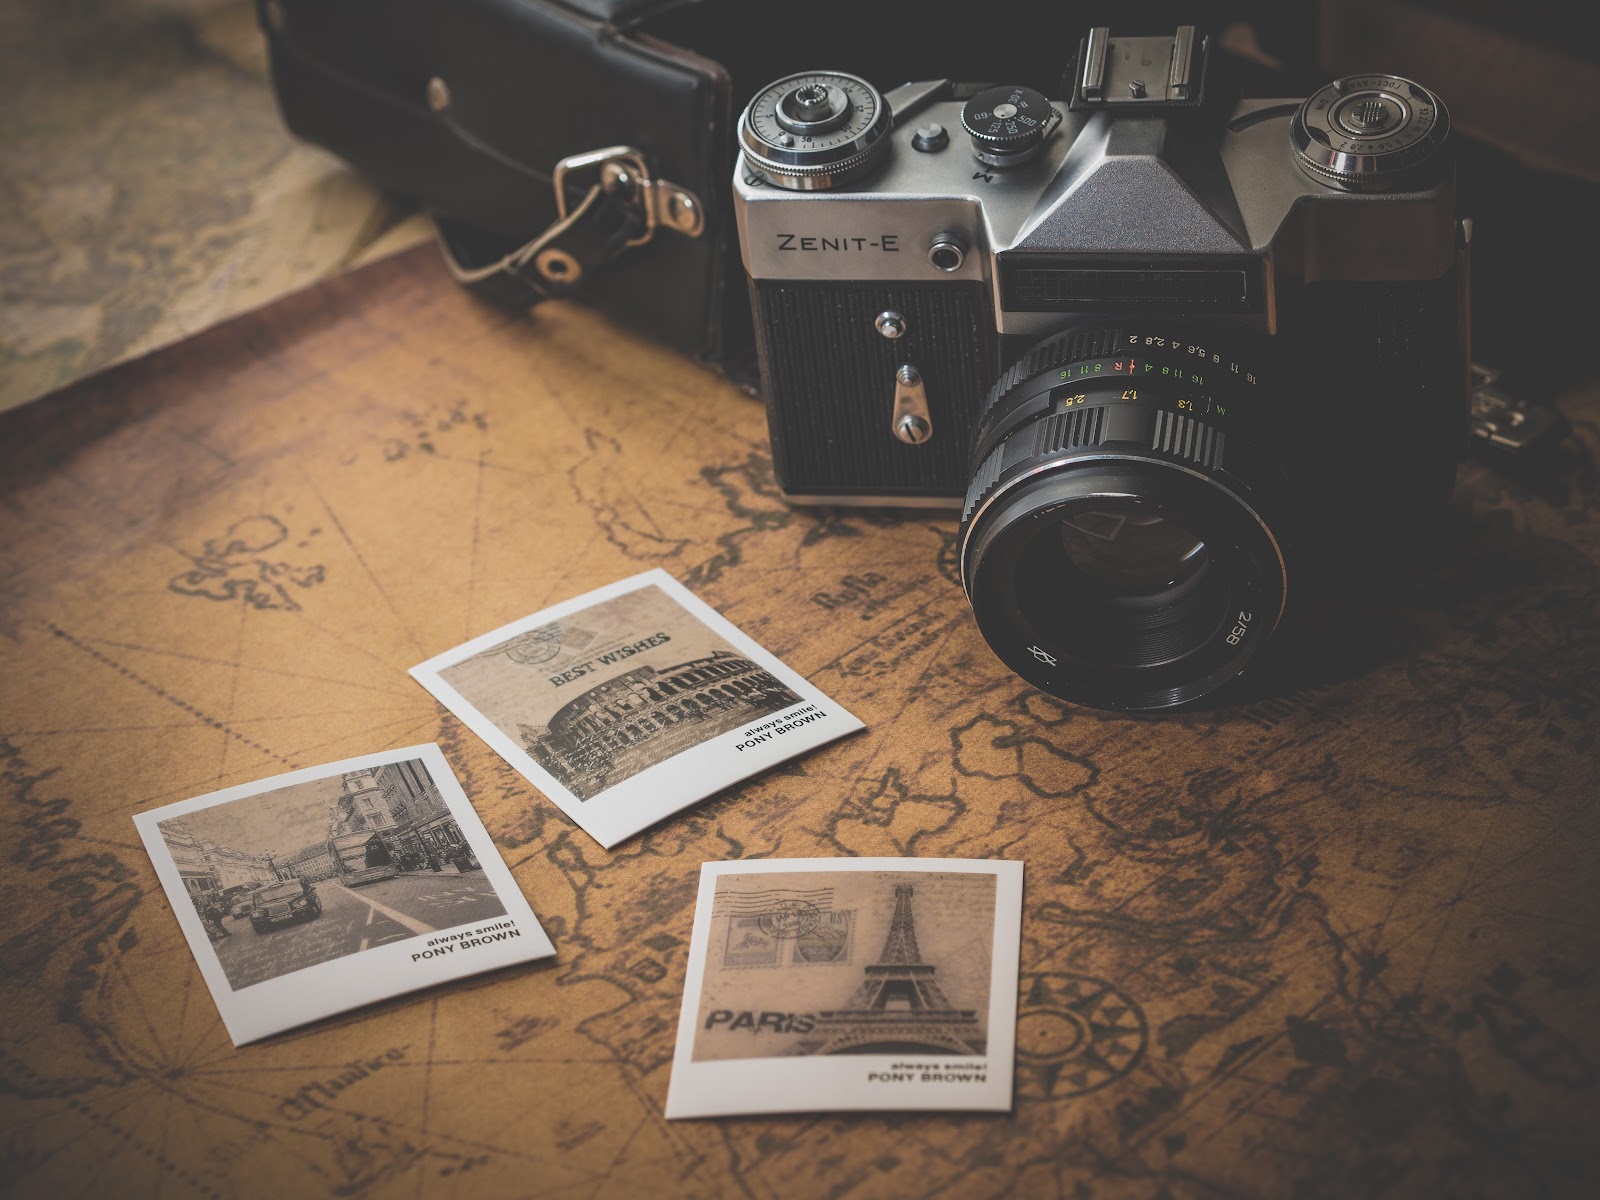
The holidays are the time for gatherings and happy memories. We’re used to taking photos on our phones and sometimes sharing them online or sending them to family and friends. I always found that a couple of months after the holidays there would be so many more photos on my devices that I wouldn’t really look at holiday memories – nevermind the year and years before that are buried on other devices, computers and hard drives. Physical photos and albums feel more real and they’re a lot easier to look back at and feel warm and fuzzy. Creating physical photo memories doesn’t have to require a lot of planning or work or waiting for photos to arrive in the mail.
Bring the Selphy Out:
A portable photo printer can turn your camera shots in to physical memories. I’ve had a blast with the Canon Selphy and find that it’s high quality and makes prints that don’t fade while still being portable enough to bring out at your own gatherings or take to others’ gatherings. While you’re having holiday gatherings you can have your family or friends download the Canon Selphy App and print photos out instantly.
At roughly the same cost per photo as most of the high-end photo-printing stores, you’ll be able to print out your annual family holiday photo in premium quality 4” x 6” without having to take that trip to the store (most of which are closed on holidays anyhow).
This is one of those items that you can bring to the gathering and take all the credit of being “oh, so thoughtful”, but you won’t have to have to do all that much work or break the bank. It’s simple enough to set up in just a couple minutes (if it’s you’re first time doing it…or literally just a couple seconds if you’ve done it once before). Then your friends & family can download a small app and be printing their own holiday photos in no time at all. It’s easy enough to use that your eldery family should even be able to get the hang of it. Of course, if you want to be the one couriering the finished prints back and forth from the printer to the couch every time one of our family prints something new, you can still certainly do that, but this is also an item you can tell everyone about and then just leave on the coffee table if you want to be hands-off.
The ways you can use this are endless. It makes for a great post-dinner activity or as the evening is winding down. You can set up a photo printing station where photos get printed directly from the phone – if you want to get extra fancy you can purchase mini albums or make nice envelopes for the photos to go in.
The main thing is that at the end of your gatherings, guests have memories to take back with them and cherish for years to come. Whether you buy this as a gift for someone or just buy it for yourself and bring it for everyone to use, you’ll be the night’s hero.
Holidays are about the quality time
At the end of the day, these are just some great ways to spend some quality time with loved ones. Whether you choose one of these things to try or end up doing all three, make some time to spend those few extra precious minutes with loved ones.
Note: As an Amazon Associate I earn from qualifying purchases. We may earn a small commission from products linked on this page.